CMP1014 Creative Technologies

Friday 26 October 2007

Assessment 1 - Walkway


My final photograph is of this walkway, I thought this was good because it used the rule of thirds, also it had a consent pattern running down all to one point ant the end of the picture. This photo need cleaning up. I used the clone stamp tool shown to the right to remove the building in the background. I did this because it draws the viewer attention away from the main focal point. also I removed the writing on the sandwich board. I touched up a few more errors in the picture. I then changed the brightness, contrast, colour balance and saturation like in the other picture and my image was complete:


The image has been posted on Big Stock Photo and is awaiting approval,
The keywords and categories the image comes under are:

Keywords:
tree, water, flower, walk, walking, walkway, nature, stream, buildings, trail, red, green, bush

Categories:
Nature > Flowers
Nature > Miscellaneous
Nature > Trees

File Format:: The file format I chose for this image is a JPEG, reasons are the same as the previous image.

Assessment 1 - Poker Chips

My next image wasn't in with my theme but I thought would have another go with composing images. I used a set of poker chips, made three stacks and some scattered in front. I also used a light to give a shadow behind the stacked chips. I took a number of different exposers for my final image.


Again by using the same technique as before I layered the images and played around with the contrast, colour levels and saturation. You couldn't see any detail on the yellow chips on the lighter images so I needed to mix the darker yellows to bring forward the colour without making the yellow chips look too dark compared to the other colour chips and therefore making it look unrealistic leaving me with my final image:


The image has been posted on Big Stock Photo and is awaiting approval,
The keywords and categories the image comes under are:

Keywords:

tournament, hold-em, hold, isolated, loaded, money, rich, bankroll, bankroll, bank, all, allin, won, winning, winner, win, payday, pay, payoff, casino, luck, lucky, vegas, jackpot, cashed, cash, over white, poker chips, gambling, gamble, card.

Categories:
Conceptual >Risk
Miscellaneous > Miscellaneous
Objects > Currency

File Format:: The file format I chose for this image is a JPEG, reasons are the same as the previous image.

Assessment 1 - Mountains and Lake

My second image I had already taken, this was of some Mountains and a lake. Below is the image.

This image stuck with my landscape theme.

This photo was taken just before sunset, there is a clear sun spot in the left of the picture as shown on the left. I need to remove this spot, in order to do this I used the clone tool to clone the mountains over the sun spot.
I decided that the mountains needed to stand out more and was a bit dull from the sun. I right clicked on my background layer and then selected "Duplicate layer..." as shown on the right. By doing this copied the background and made "layer 1". With this layer I only wanted the mountains so I selected layer 1 on the layers tab on the right, then selected the "eraser tool". I only wanted to remove everything below the mountains so in order to make sure I wasn't left with sharp edges, I choice a soft round brush. Then I needed to change the colour of the image, to do this I clicked on "Image" then "Adjustments" and finally "colour balance". I played with the colours in till I found a image which made the mountains stand out. I was left with a layer which looked like the one below.

I took the background layer and removed the mountains again by using a soft round brush, and by placing the background layer on top of layer 1, I merged the two layers together. After touching up the edges, playing with the brightness and contrast to gain best results, my image was finished.


The image has been posted on Big Stock Photo and is awaiting approval,
The keywords and categories the image comes under are:

Keywords:

beautiful, blue, freedom, grass, heaven, lake, mountains, natural, nature, pattern, perspective, sky, trees, water, snow, rocks, sunset, landscape, new, zealand" "south, island" Zealand

Categories:

Landscapes > Mountains
Nature > Skies

File Format:: The file format I chose for this image is a JPEG, reasons are the same as the previous image.

Assessment 1 - Trees and water

We was asked for the assessment to take photos and edit them on Photoshop, by using a number of techniques we have previously looked at. I decided for my first picture i was going to compose a number of different exposed images. I chose the topic of landmarks and landscapes as I had recently taken some good photos which would fit in this topic. I chose a bank on the side of the Brayford pool which had trees around the water making a frame. These are the images I took:


After I took the photographs, I used Photoshop as in my previous workshop, I edited the images into one smooth image. By making three layers and playing with the contrast, saturation, brightness and colour levels.

My aim was to obtain a smooth exposer thought out the whole image but keeping the same focal point of the river bank. The building and boats are burred in the background keeping the viewer focus on foreground.

This was my final image:


The image has been posted on Big Stock Photo and is awaiting approval,
The keywords and categories the image comes under are:

Keywords:

bank, boat, brook, clouds, coast, craft, creek, fish, fisherman, fishery, fishing, landscapes, natural, nature, river, rivulet, sand, shore, sky, stream, swim, water, waterfall, waterfowl, waterman, wave.


Categories:

Landscapes > Miscellaneous
Landscapes > Rivers
Nature > Miscellaneous

File Format:: The file format I have chosen is a JPEG,
this is because JPEG saves the images into a small file format, at the same time keeping the images quality good. A downside to a JPEG file is that when zooming into photo, the pixels within the image become very large and the photograph or image brakes up. I chose to use JPEG for this image because it is made to be viewed as a whole picture and not close up.

Tuesday 16 October 2007

Adobe Photoshop - Composite Images

In today's workshop, we were asked to create a single image, from a series of images. The aim of this workshop was to create a realistic image, using the same techniques of layering, selecting and masking as when we made the surreal image. We was provided with six images, all with different exposure and asked to produce one, perfectly exposed composite.


I first took the darkest picture and made it my background, then going from dark to light, dragged the other images onto my background using the move tool, this created a new layer for each image.

As the detail of the temple was better and more in focus in the lighter images I kept this in and by using the rubber tool, removed the sky and parts of the tree in the first two, lighter images. I then removed just the sky in the third lighter image, leaving the tree as the detail was better on this image then the others. On the second darkest image, I added a mask, by selected the mask i could remove the detail in the image but keep the contrast and darkness. this helped the temple's detail to stand out through the lighter images.


This was my final image:

Tuesday 9 October 2007

Photo Surrealism in Adobe Photoshop

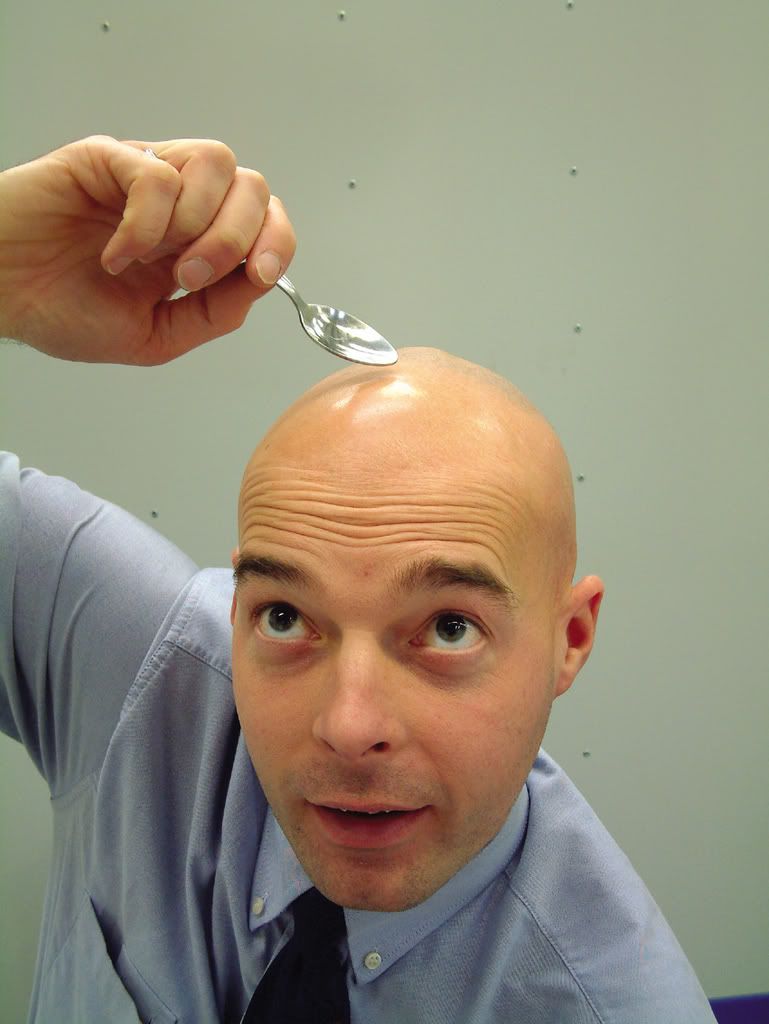
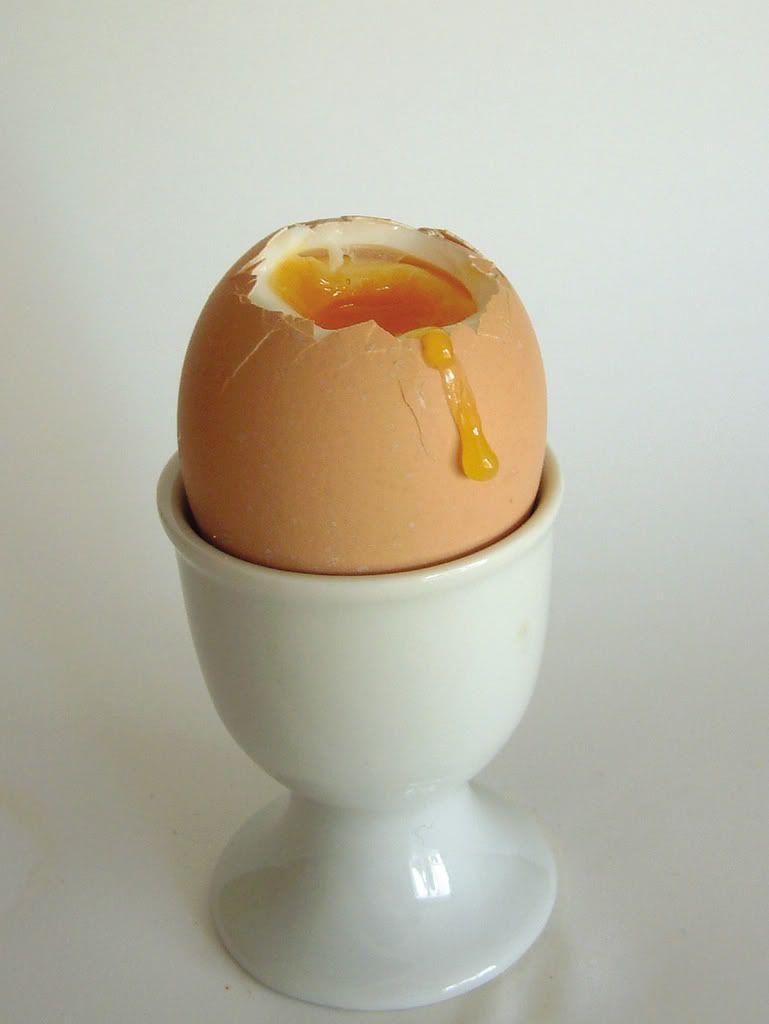
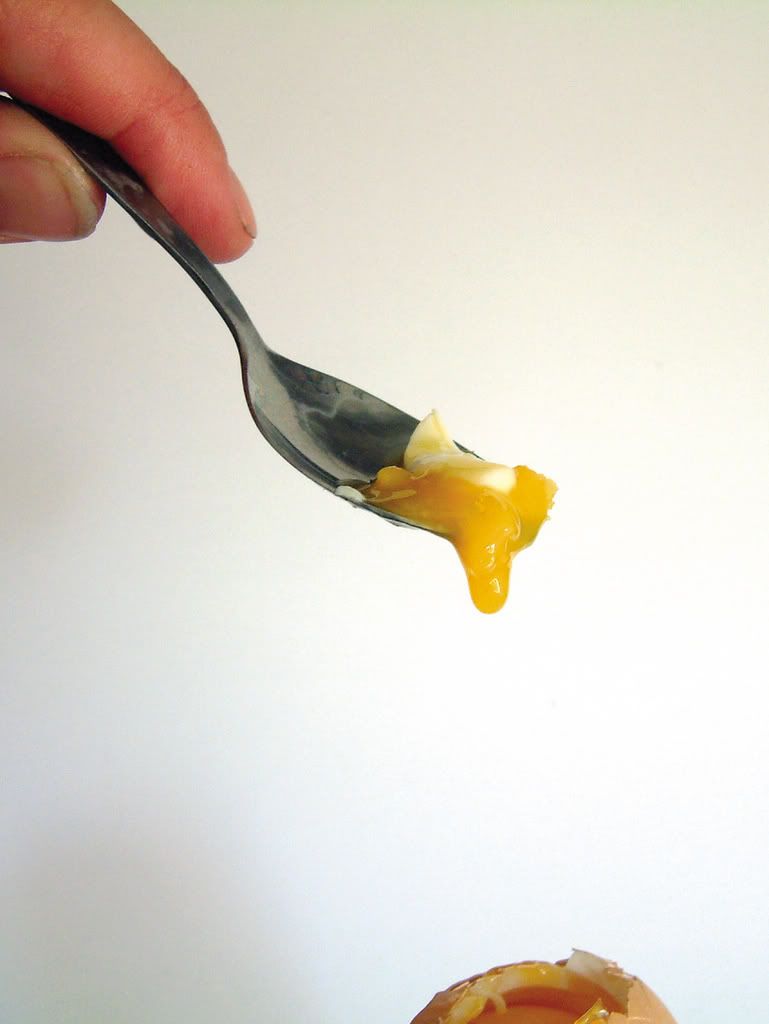
In today’s workshop I was asked to obtain a number of images and blend them together using a number of tools and layers. I was given three different images shown below, a man, an egg, and a spoon.

Photo Sharing and Video Hosting at Photobucket Photo Sharing and Video Hosting at Photobucket Photo Sharing and Video Hosting at Photobucket

I first selected the photograph of man and used it as my background layer. I then opened the egg into a new Photoshop file; I then used the marquee tool to choose the area of egg I wanted. I copied this and opened my original background of the man and pasted the egg onto the background, making a new layer; layer 1.

By picking my first layer, I could edit this layer by its self. I resized the image by using Ctrl + T and dragging the corner of the box to the size I wanted while holding Shift to keep the diameter of the pictures the same. I used the opacity to fade the picture slightly so that the man’s forehead would show through the eggs shell, making a more “realistic” image. I still had a box around the egg where I selected it and I used the eraser tool to remove these lines. As this was on layer one, it did not remove anything from the background layer leaving the walls following the egg.

I then copied the spoon like I did with the egg and pasted it on to the background, like before, this made a new layer, layer 2. When I resized the image I noticed that the spoon in the background was leaving a white line around my new spoon. To remove the old spoon I selected the background layer and removed the spoon using the eraser tool. I filled in the space which was just made by using the clone tool. The new spoon was now without a white shadow.

I created a filter which I then changed the brightness and contrast in the whole picture, not with just one layer. I changed the contrast to give the man a slightly yellow look to him as if he was an egg.

This was my final picture.

Tuesday 2 October 2007

Repairing an Image using Adobe Photoshop

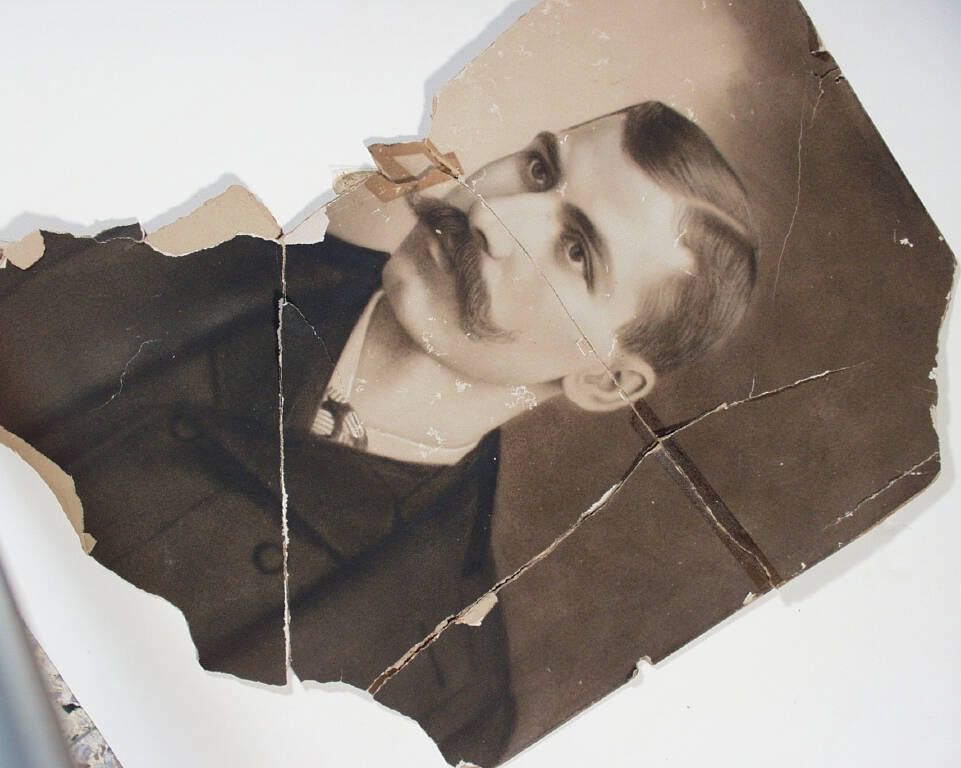
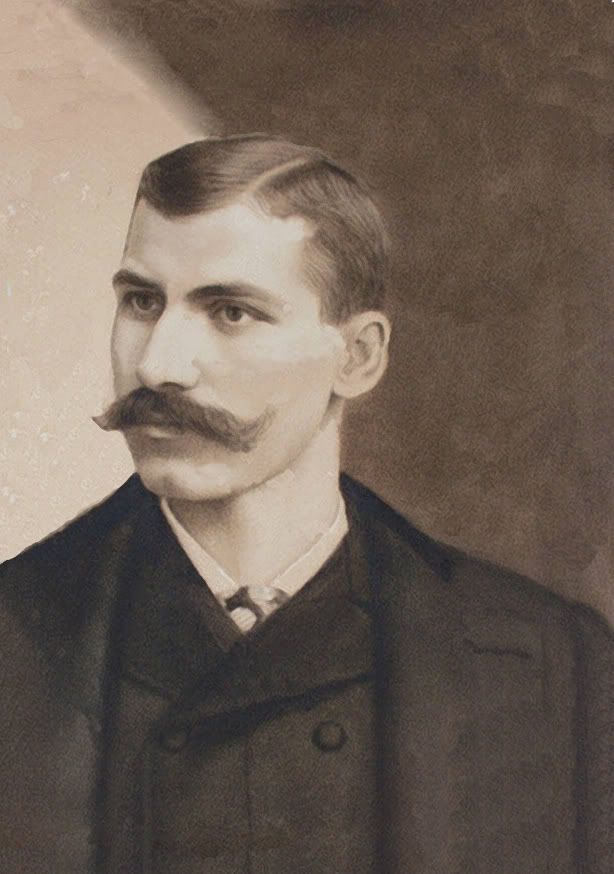
In todays workshop we were asked to take a damaged image and repair it using Adobe Photoshop. We were to do this by number of tools in Photoshop, the tools I used were the Clone Tool, Dust & Scratch Filter, Healing Brush. These tools helped me take image A, and repair it to look like image B.


I used the clone tool to clone the background and the mans face into the creases in the image. this removed all the creases as well as adding the missing edges of the image. By using the healing brush I could blend the colours in the background to make a smooth appearance. Finally the dust and scratch filter I used to tidy up any markings on the image.

Welcome

Well, this is my blog... It’s pretty bare at the moment in time but I will be adding logs and work as my Creative Technology unit unfolds throughout the year. I will hopefully be adding work along side explanations of why and how I went through a certain process. So I would be happy to receive any comment on my work to improve it, so I am looking forward to hearing from you!Thanks,
Jamie